Run the till and complete sales
Build orders, handle variants and customizations, take payment, and review sales history.
Open the Till and choose an outlet
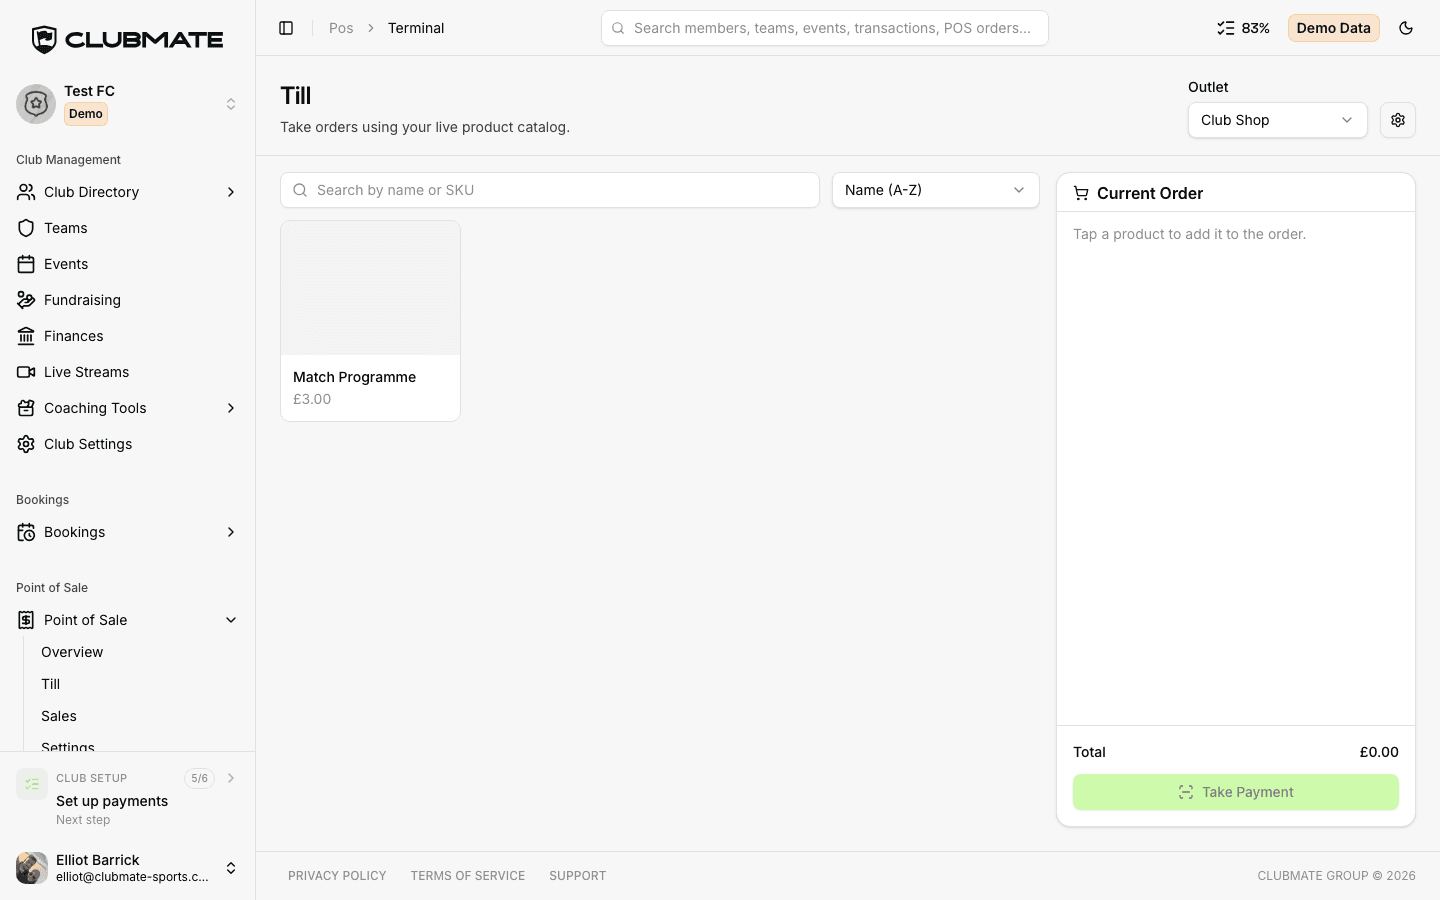
Go to Point of Sale, then Till (or Open terminal from Overview). Select an outlet if you have more than one. Changing outlet clears the current order and loads products for the new location.
Add items to the order
Tap products to add them to the current order. Use + and - on each line to change quantity. Click Clear to discard the order and start again.
Pick a variant when asked
Products with variants (for example Pint vs Bottle) open a Choose Variant dialog with prices shown. Pick one to add it to the order. Products with variants may show a From price on the till tile.
Customize with modifiers or option sets
When modifier groups or option sets have Auto Prompt on Till enabled, a Customize dialog appears after you tap the product (or after choosing a variant). Required groups are marked. Adjust choices, then click Add to Order.
Tip: Selected options appear under the line item in the cart and their price adjustments are included in the line total.
Take payment
Add at least one item, then click Take Payment. The order is marked paid and the cart clears for the next customer. Card and split payment options are not on the till screen yet; completed sales are recorded as cash.
Review sales history
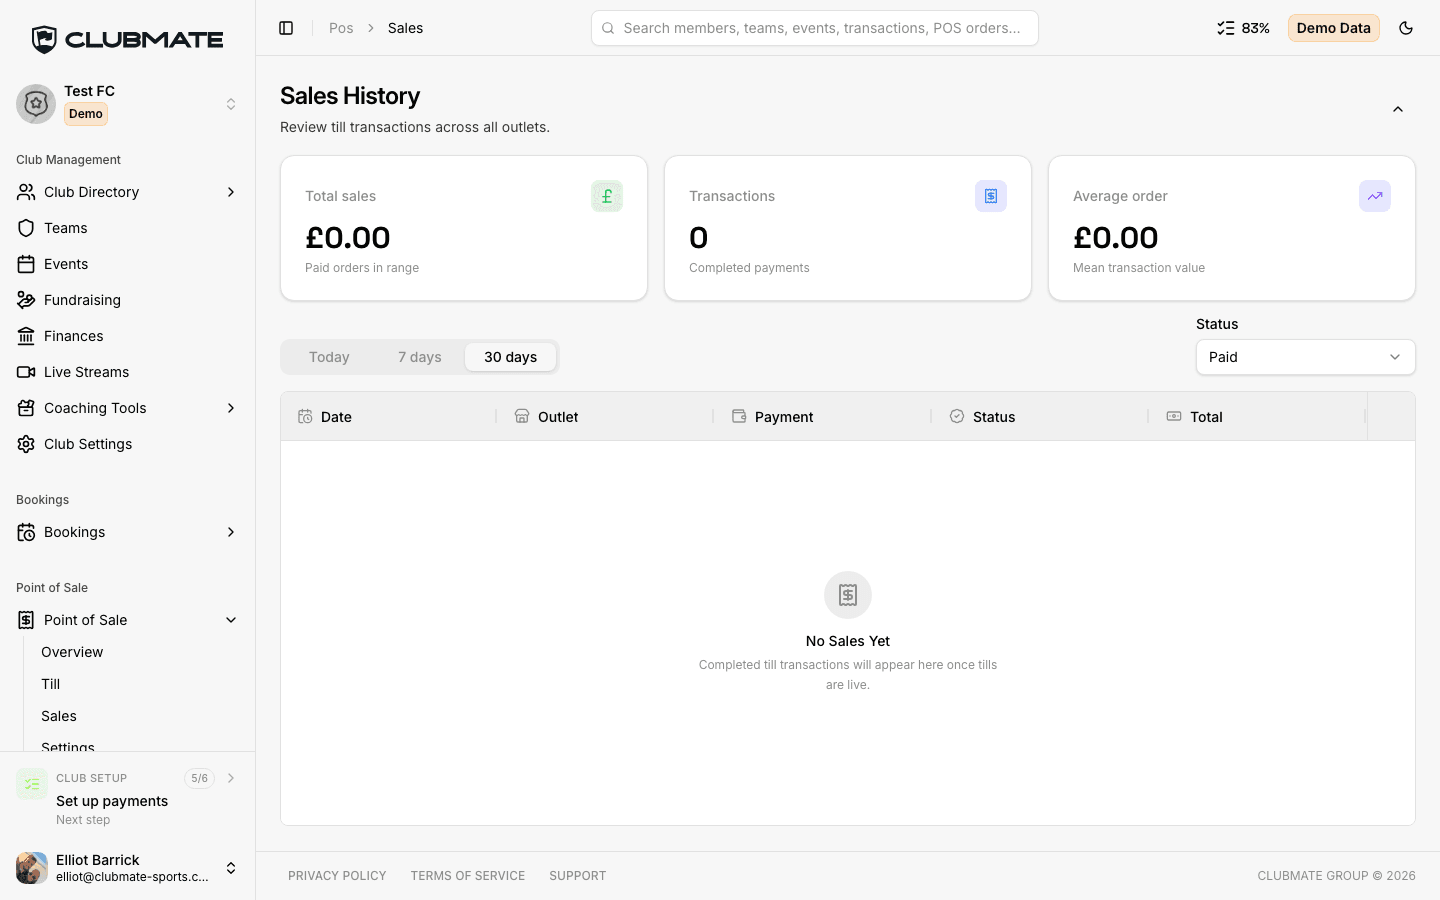
Open Point of Sale, then Sales. Summary cards show totals for Today, 7 days, or 30 days. Click or tap a row to open order details with line items, subtotal, tax, and total.