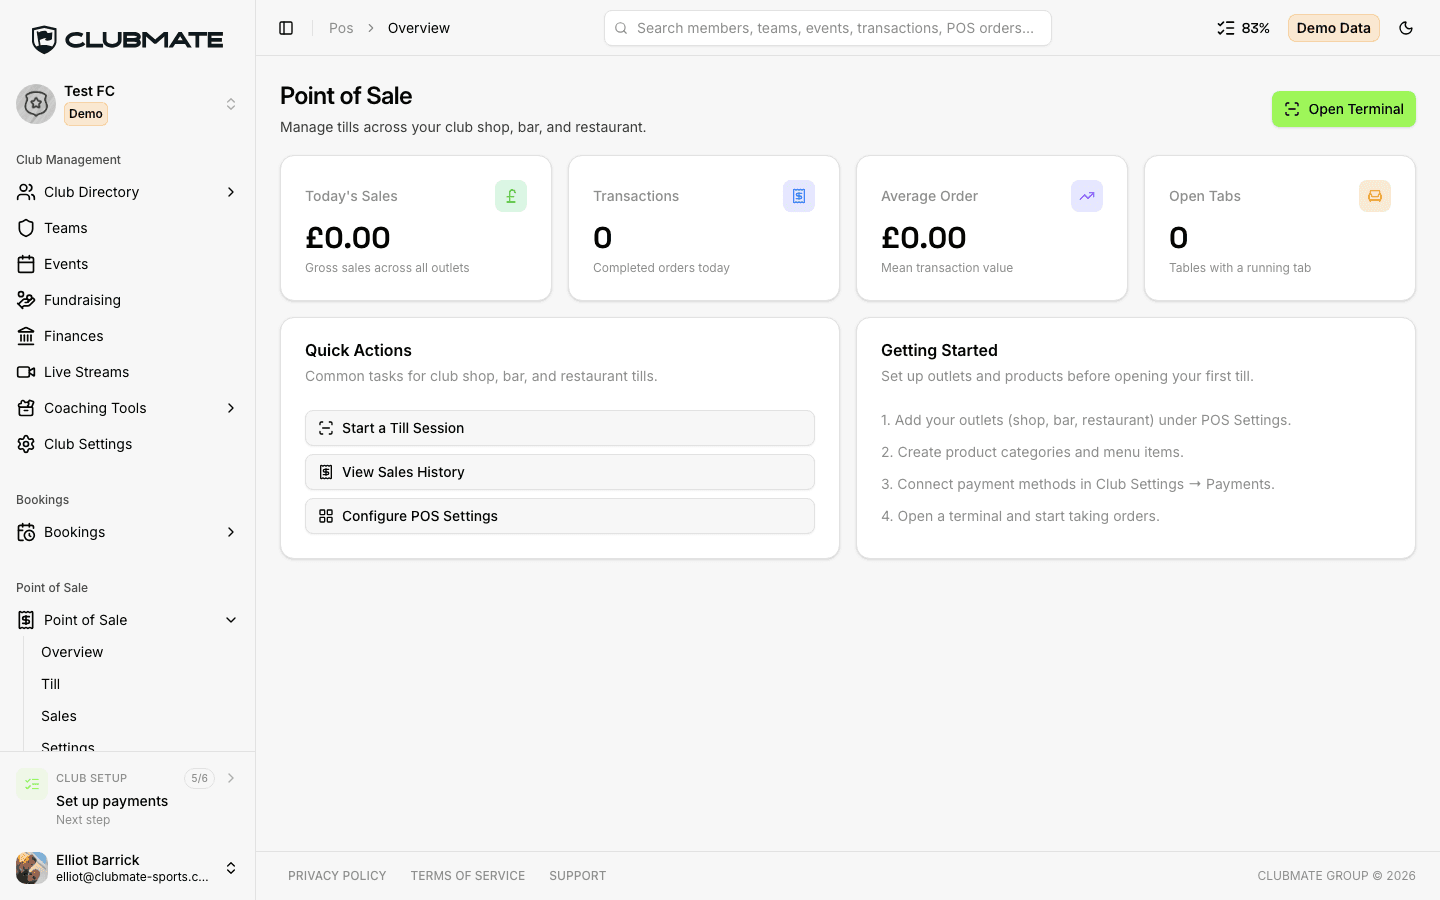
Set up Point of Sale for the first time
Enable POS, add outlets and products, then open the till ready for your first sale.
Open POS Settings as a club admin
Sign in as a club administrator. Go to Point of Sale in the sidebar, then Settings. On mobile, open More and choose POS Settings.
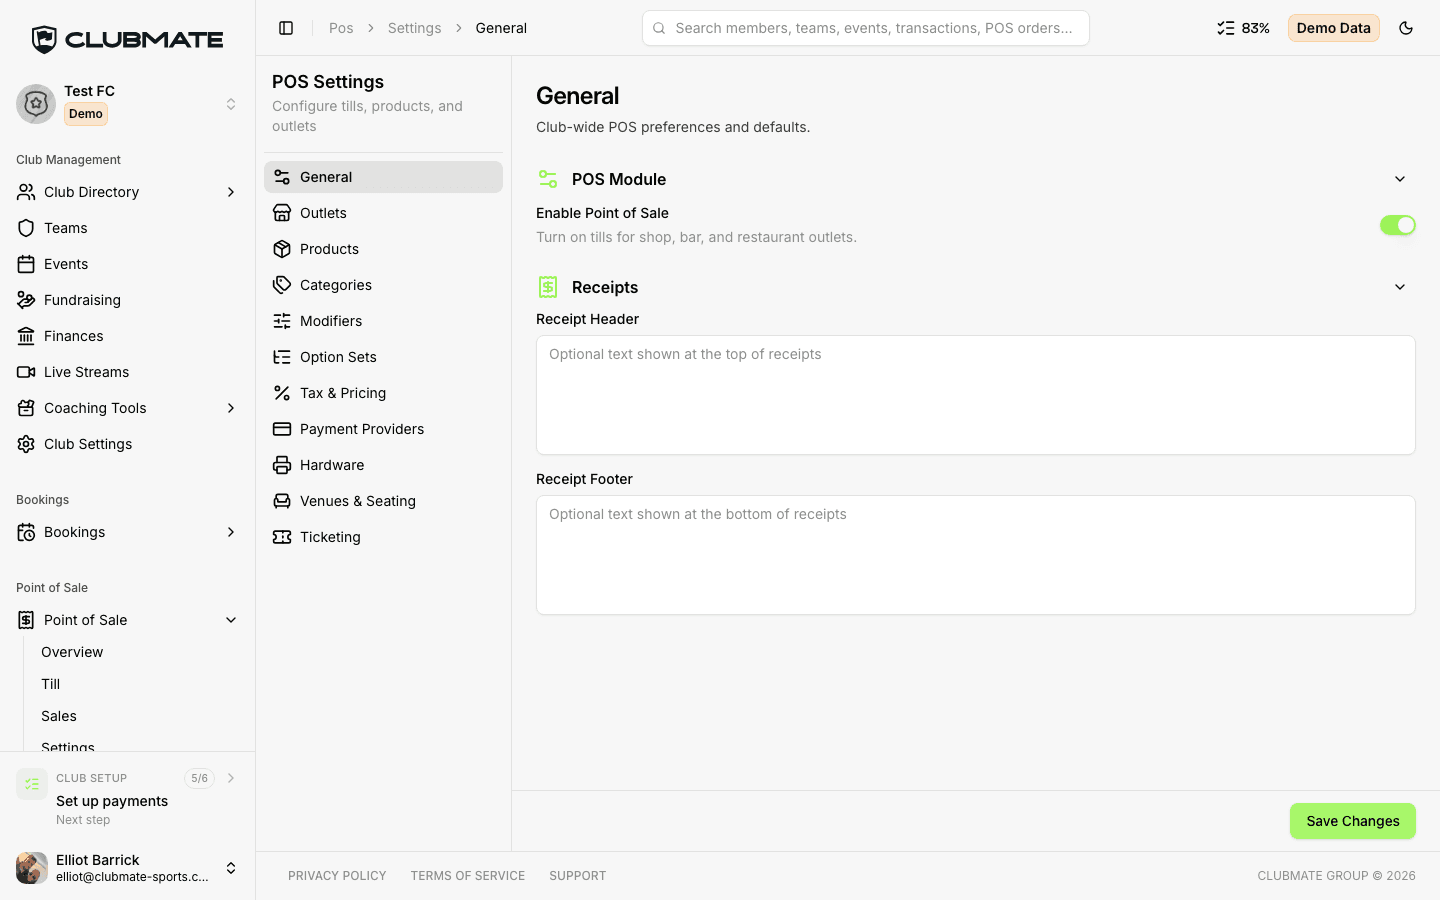
Enable Point of Sale
Open Settings, then General. Switch on Enable Point of Sale. Optionally add receipt header and footer text, then click Save Changes. Until POS is enabled, till features stay limited.
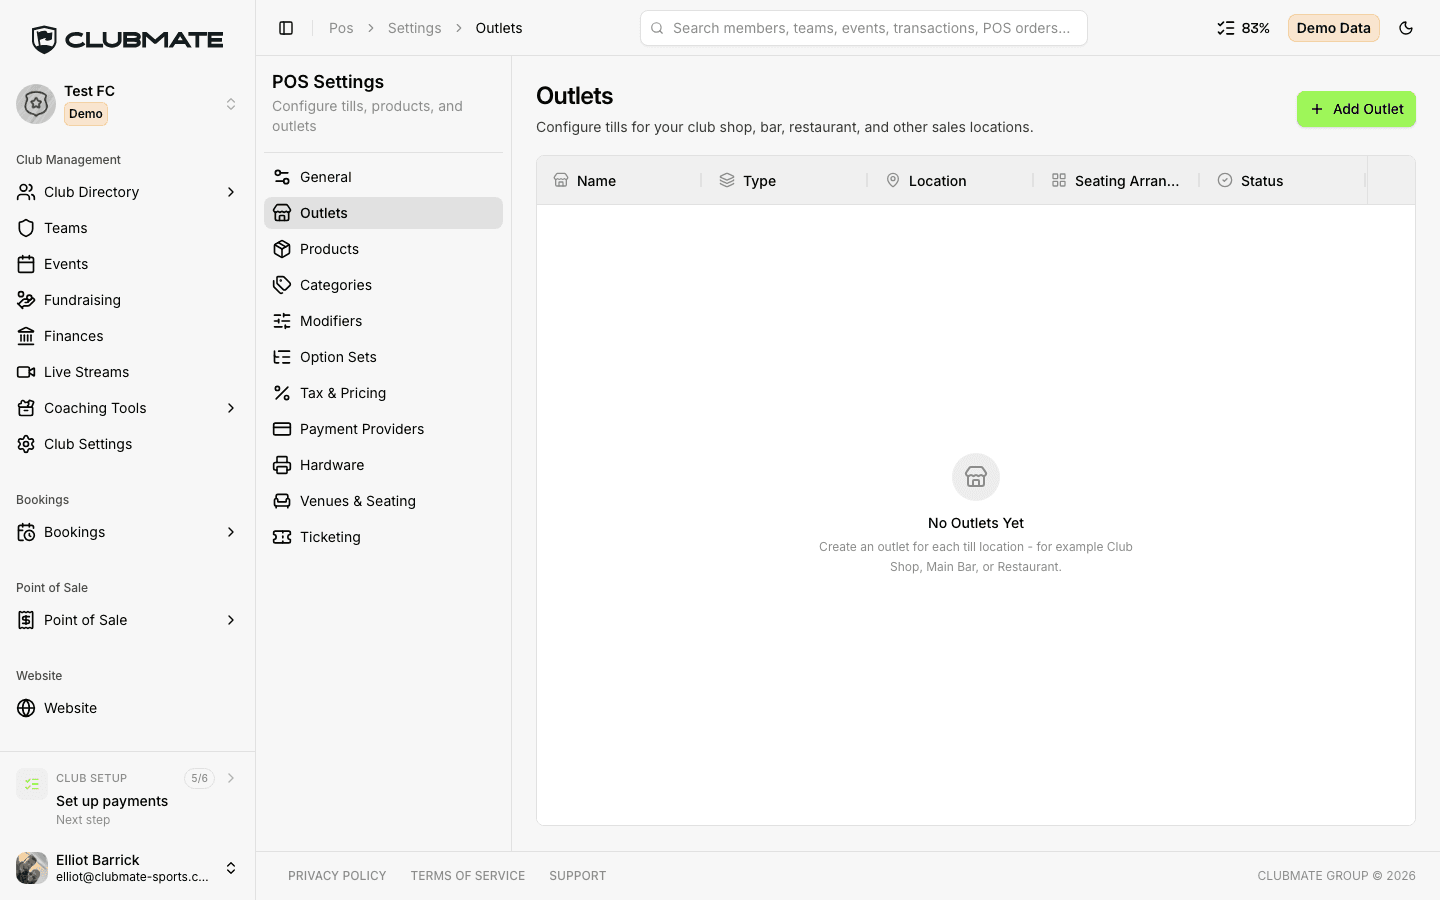
Add at least one outlet
Go to Settings, then Outlets. Click Add Outlet (or the + button on mobile). Enter a name, choose a type (Shop, Bar, Restaurant, or Other), add an optional location note, and keep Active on. Staff must pick an outlet on the Till before selling.
Tip: If you only have one active outlet, the till selects it automatically.
Optionally create categories
Under Settings, then Categories, group products (for example Drinks, Food, Merchandise). Categories help admins manage large menus. The till shows products in one grid sorted by each product's sort order.
Add products to the till
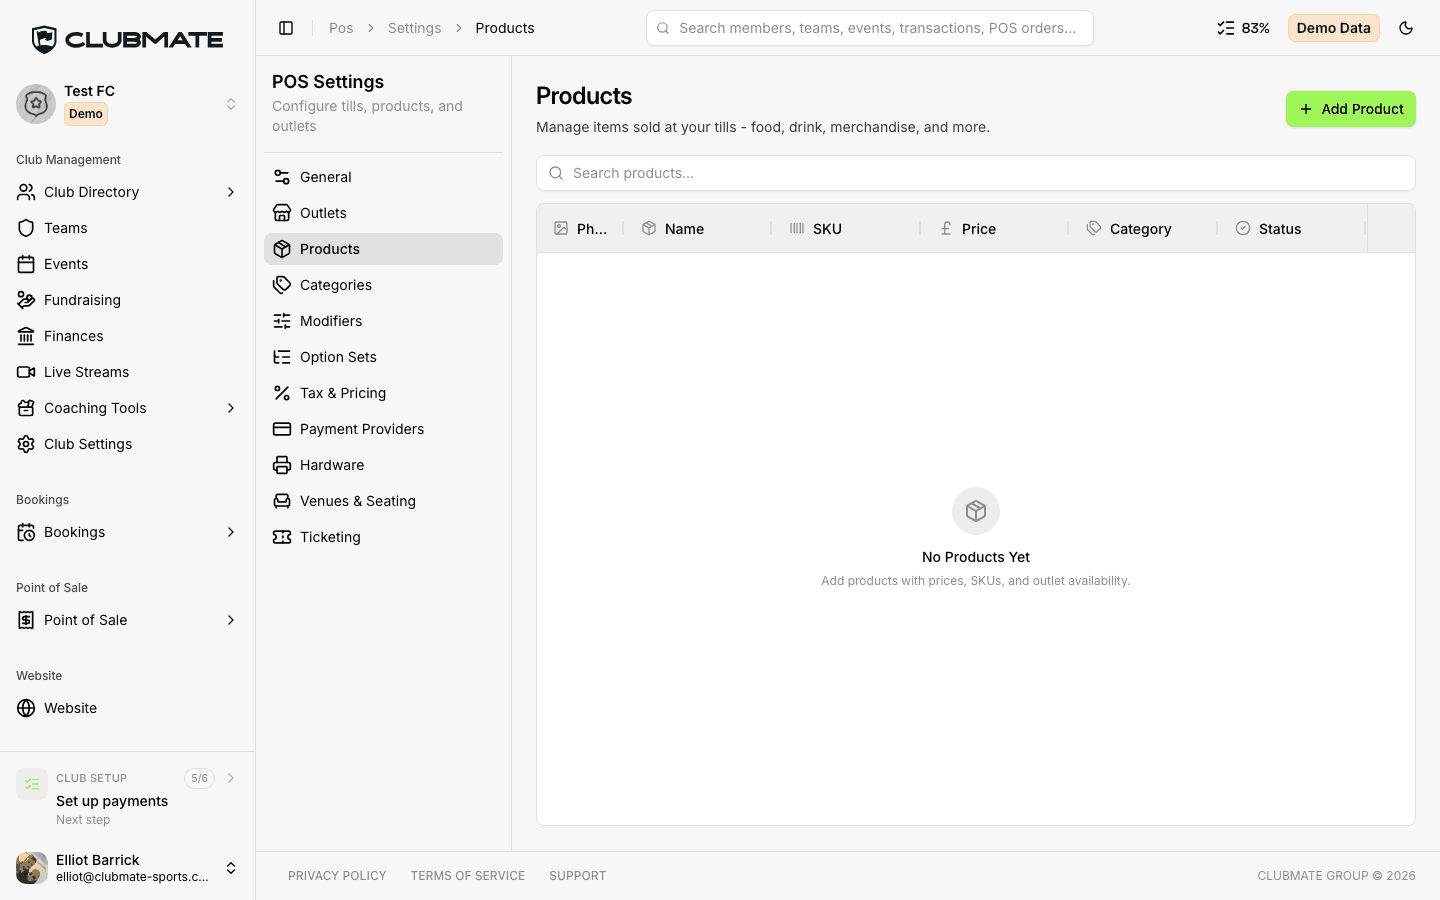
Open Settings, then Products, and click Add Product. Enter name, price, optional SKU, category, and outlet scope (All Outlets or one outlet). Add a photo if you want it on till tiles. Set Sort Order so important items appear first (lower numbers show earlier). Keep Active on, then save.
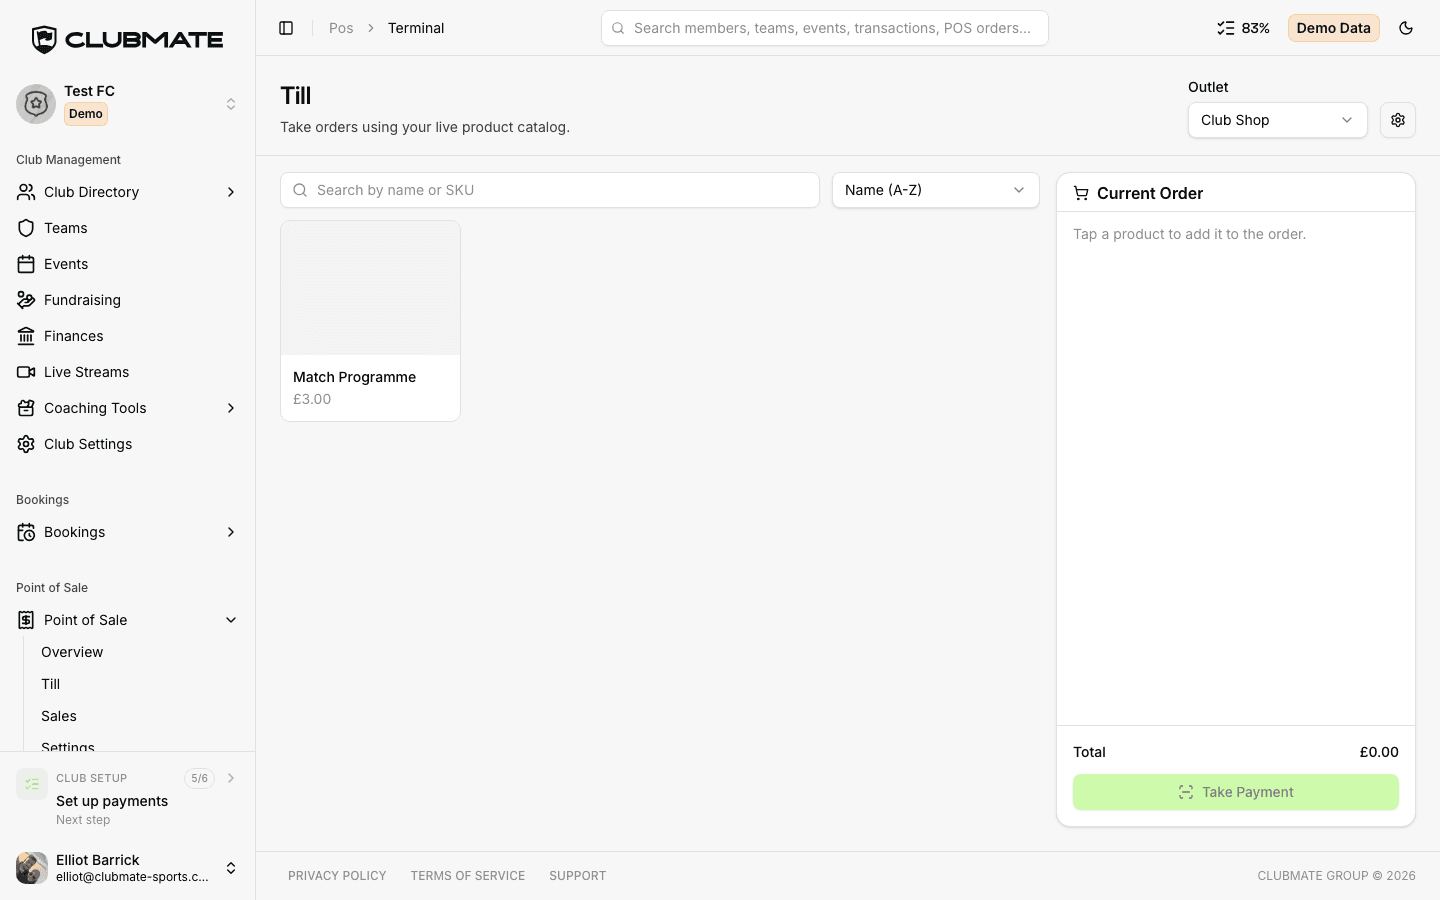
Open the Till and test an order
Go to Point of Sale, then Till. Select an outlet if prompted, tap a product to add it to the cart, then click Take Payment to complete a test sale.